

How to Safely Handle Demolition Cleanup
September 1, 2025
Benefits of Hiring Professionals for Mattress Removal
September 1, 2025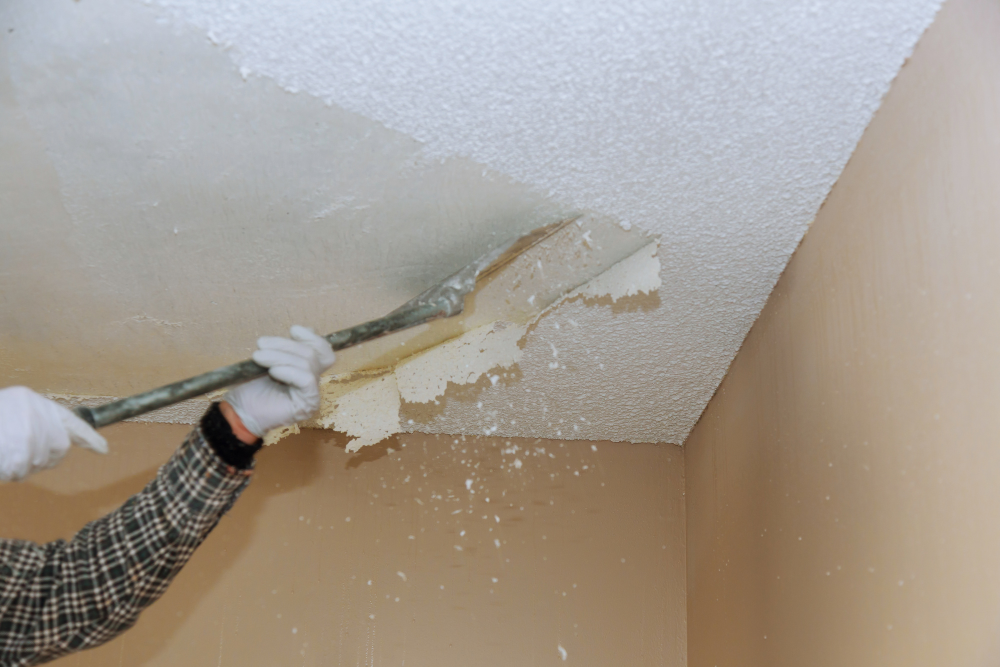
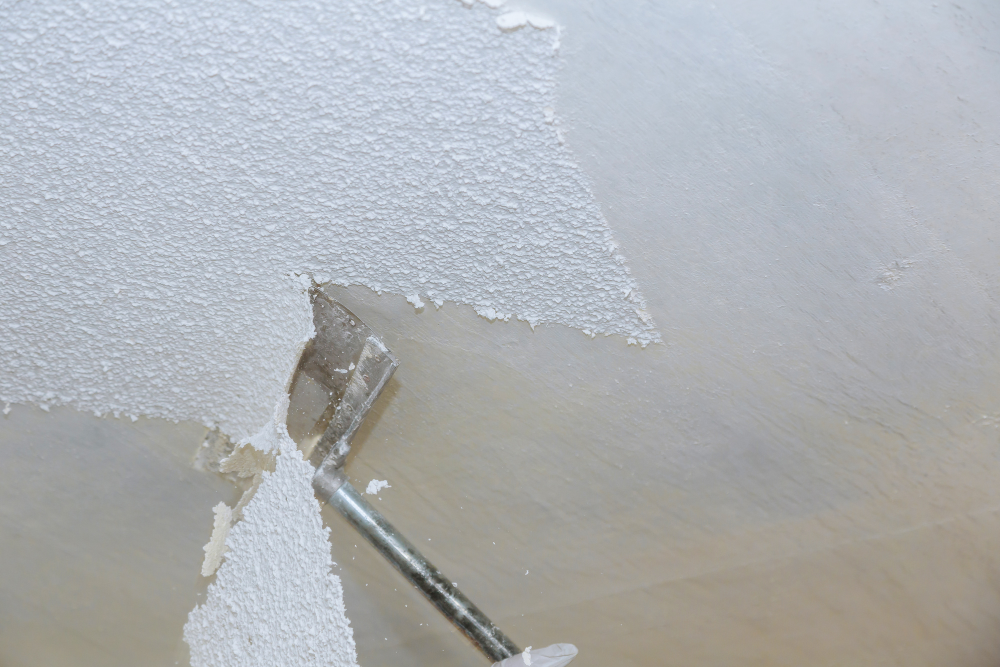
Understanding the Scope of Drywall Removal
Removing drywall can feel like staring at a mountain you’re expected to climb, but understanding what lies ahead makes the task more approachable. Drywall isn’t just paper and gypsum—it’s heavy, messy, and fragile. Before swinging hammers and prying boards, visualize the area and plan your steps. Walls in older homes may conceal electrical wires, plumbing, or insulation that complicate removal. Preparation isn’t just about clearing space; it’s about ensuring your safety and protecting other parts of your home from dust, debris, and accidental damage. The initial assessment sets the tone for how smoothly the project will unfold, turning what seems like chaos into organized progress.
Equipping yourself with the right tools is crucial. A utility knife, pry bar, and protective gear are essentials, while optional items like a reciprocating saw or dust barrier system can save time and stress. Work systematically, removing drywall in manageable sections, keeping an eye out for hidden obstacles. By taking a thoughtful approach rather than rushing, you reduce potential setbacks and ensure the process stays as clean and efficient as possible.
Safety Precautions to Consider
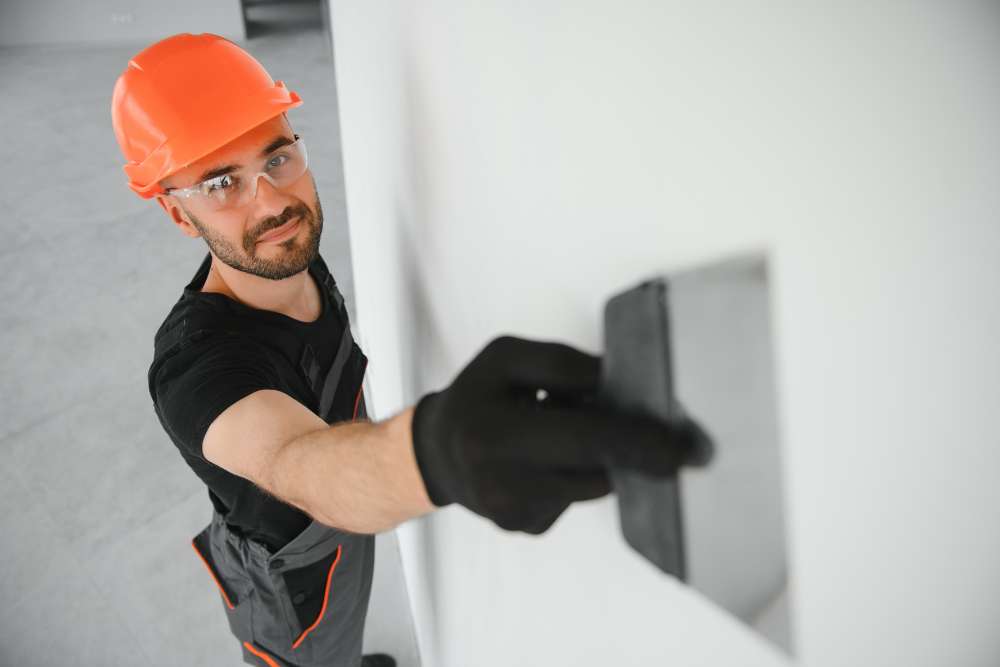
Drywall removal might look simple, but hidden hazards make safety precautions vital. Dust from gypsum can irritate skin, eyes, and lungs, while nails and screws pose puncture risks. Wearing goggles, gloves, and a dust mask protects against common injuries and ensures your focus remains on the task rather than mishaps. Setting up plastic sheeting or tarps around the workspace limits dust spreading to other rooms, making post-project cleaning less daunting. Thinking ahead about ventilation also minimizes exposure to airborne particles that can linger long after the boards are gone.
Planning for the safe disposal of debris is equally important. Drywall isn’t something you just toss into the trash; it requires responsible removal and handling. Separating drywall from other materials like wood or metal helps recycling efforts and reduces the risk of injury during transport. Establishing a clear exit path for each sheet prevents accidents and streamlines the cleanup. Taking these precautions turns a potentially hazardous task into a controlled and organized effort, saving both time and energy.
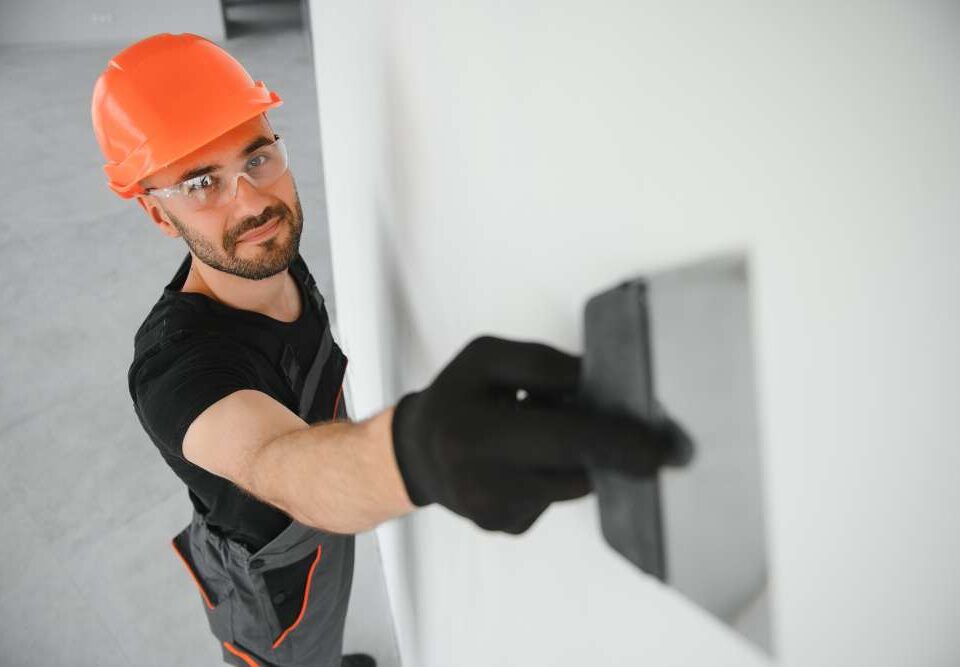
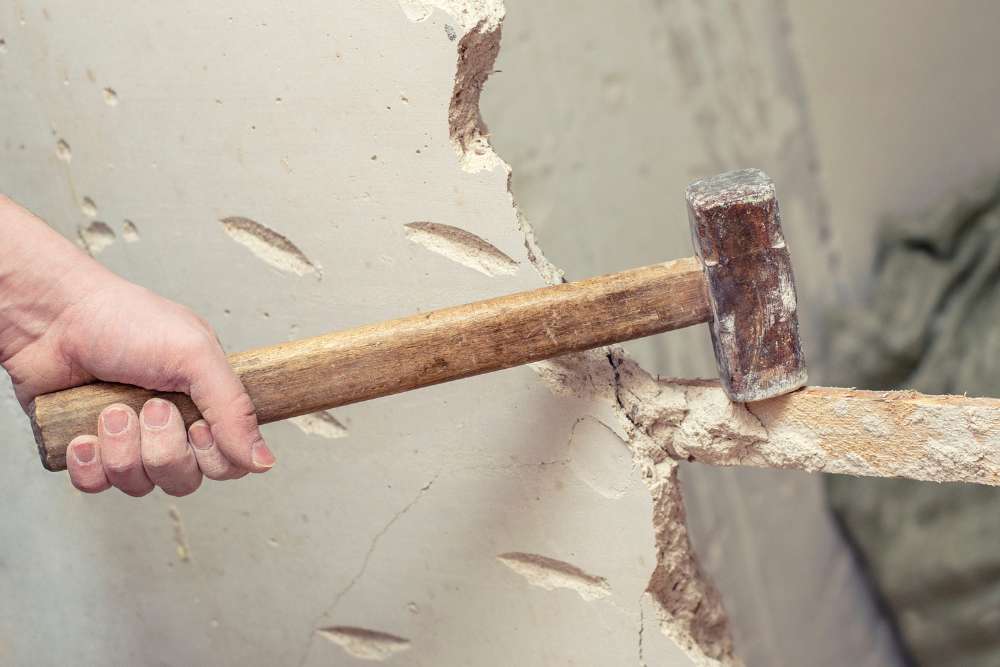
Choosing the Right Tools for the Job
The difference between a tedious removal and a smooth one often comes down to having the proper tools. While basic items like a hammer and utility knife get the job done, advanced tools such as a drywall saw or reciprocating saw can make tough sections much easier to handle. The right tools reduce strain on your body and minimize the risk of accidentally damaging surrounding walls or floors. Comfort and control are essential, as drywall removal can quickly become physically exhausting. Ergonomically designed tools and extension handles can make a noticeable difference in both efficiency and fatigue.
Organization extends to tool placement as well. Keep cutting and prying tools within easy reach, along with protective gear like masks and gloves. If multiple people are helping, assigning specific tasks and tools to each person reduces downtime and confusion. Preparing your workspace with drop cloths, trash containers, and an assembly of essential equipment creates a system where each move is deliberate and effective. This methodical approach transforms what could be a chaotic process into a structured workflow, making the project more manageable.
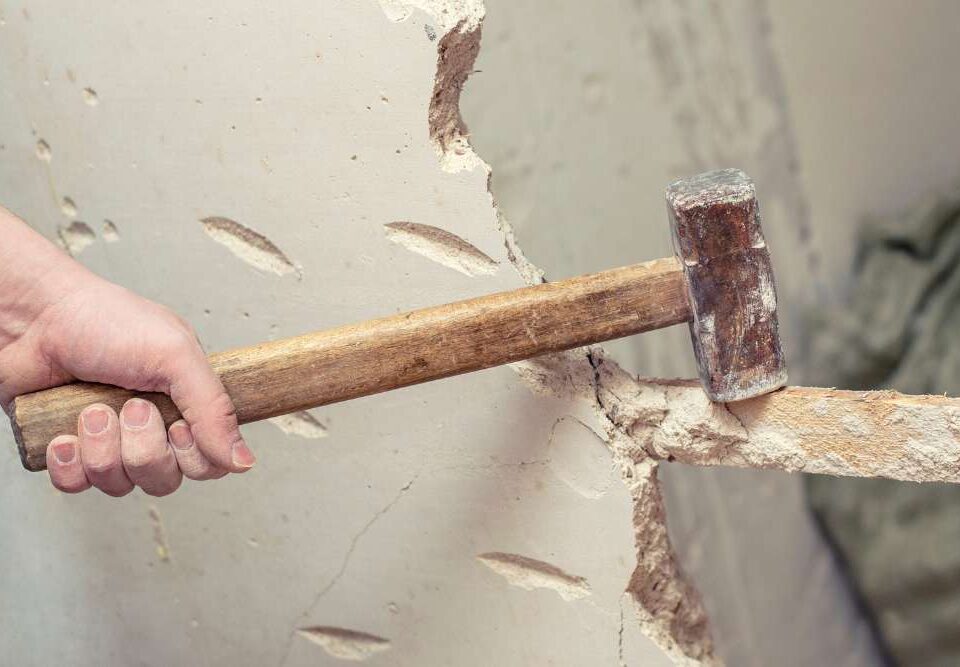
Planning the Removal Sequence
Approaching drywall removal without a sequence is like trying to solve a puzzle blindfolded. Begin at the top of walls and work your way down, loosening screws or nails before attempting to remove full panels. Working in sections helps maintain balance and control, especially when dealing with heavy or awkward sheets. By planning the order of removal, you reduce the chance of panels collapsing unpredictably and causing injury or damage. Each wall segment should be treated as a mini-project, ensuring that every cut, pry, and lift follows a thoughtful pattern rather than random effort.
Timing is also an important aspect of sequencing. Breaks should be scheduled strategically to avoid fatigue, which can lead to accidents. Large areas may require more than one day, so keeping a realistic timeline prevents rushing and careless mistakes. The sequence should also consider ventilation, dust control, and debris removal, making each stage of the project cleaner and safer. Ultimately, planning the removal sequence is less about rigidity and more about crafting a workflow that prioritizes safety, efficiency, and control.
Handling Debris Efficiently
The work isn’t done when the drywall is off the walls; how you handle the debris matters just as much. Piles of drywall can quickly overwhelm a space if not managed strategically. Using containers, wheelbarrows, or carts keeps sheets organized and reduces physical strain. Layering debris carefully and separating recyclable materials makes disposal simpler and more environmentally responsible. The debris stage is where planning and organization truly show their value, turning chaos into an orderly collection ready for removal.
Choosing an exit path is another consideration. Clearing a direct route from workspace to disposal site prevents accidental trips and makes transporting heavy sheets smoother. Having a dedicated staging area for the removed drywall reduces confusion and ensures that other ongoing work isn’t disrupted. Efficient debris management shortens cleanup time and enhances safety, letting you focus on completing the project rather than dealing with a cluttered mess. A thoughtful approach to debris handling is essential for both productivity and peace of mind.
Protecting Your Surroundings
Drywall removal has a tendency to scatter dust, nails, and fragments across every surface. Protecting floors, furniture, and fixtures is not optional; it’s essential. Drop cloths, tarps, and temporary barriers shield valuable surfaces from damage. Even with careful work, accidental scratches or dents can happen, so taking preventive measures reduces cleanup and repair needs. Planning the layout of protective coverings ensures that every vulnerable area is accounted for, giving you freedom to focus on removal rather than damage control.
This approach extends to adjacent rooms and hallways. Setting up sealed doorways or plastic barriers prevents dust migration, and vacuuming with HEPA filters during breaks keeps air quality in check. Small steps like covering vents and sealing off heating ducts minimize airborne particles. Ultimately, safeguarding your surroundings transforms drywall removal from a messy ordeal into a contained, manageable task, where post-project cleanup becomes far less stressful.
Identifying Hidden Hazards
Behind every wall, unseen dangers may lurk. Electrical wires, plumbing lines, and even mold can complicate removal. Identifying these hazards early reduces risk of accidents or costly repairs. Use caution when cutting near outlets or switches, and consider consulting professionals for suspect plumbing or wiring. Mold or moisture damage requires specialized handling to prevent spreading spores or weakening structural integrity. Awareness of hidden hazards is a form of proactive prevention that saves time, money, and potential injuries.
Testing areas with stud finders or visual inspections can uncover unexpected obstacles before you commit to removal. Marking problem spots and planning alternative removal techniques ensures the project continues smoothly. By respecting what lies beneath the surface, you avoid surprises that could derail your timeline or cause damage. Preparing for hidden hazards is less about fear and more about intelligent anticipation, turning potential dangers into manageable challenges.
Estimating Time and Effort
Drywall removal is more than swinging tools; it’s a physically demanding task that requires realistic expectations. Estimating the time needed for each wall or room prevents frustration and rushed work. Consider the size of the space, the number of layers, and any obstacles such as insulation, wiring, or trim. Planning the effort required also helps in arranging help if needed, whether that’s friends, family, or hired assistance. Knowing how long each stage will take reduces stress and keeps momentum steady.
Balancing intensity with breaks is key to sustaining energy and preventing injury. Heavy lifting, repeated bending, and dust exposure all contribute to fatigue, which can slow progress. Pacing yourself and scheduling work sessions around natural energy levels creates a more productive workflow. By realistically estimating time and effort, you set achievable goals that maintain morale and keep the project on track, avoiding unnecessary frustration or accidents along the way.
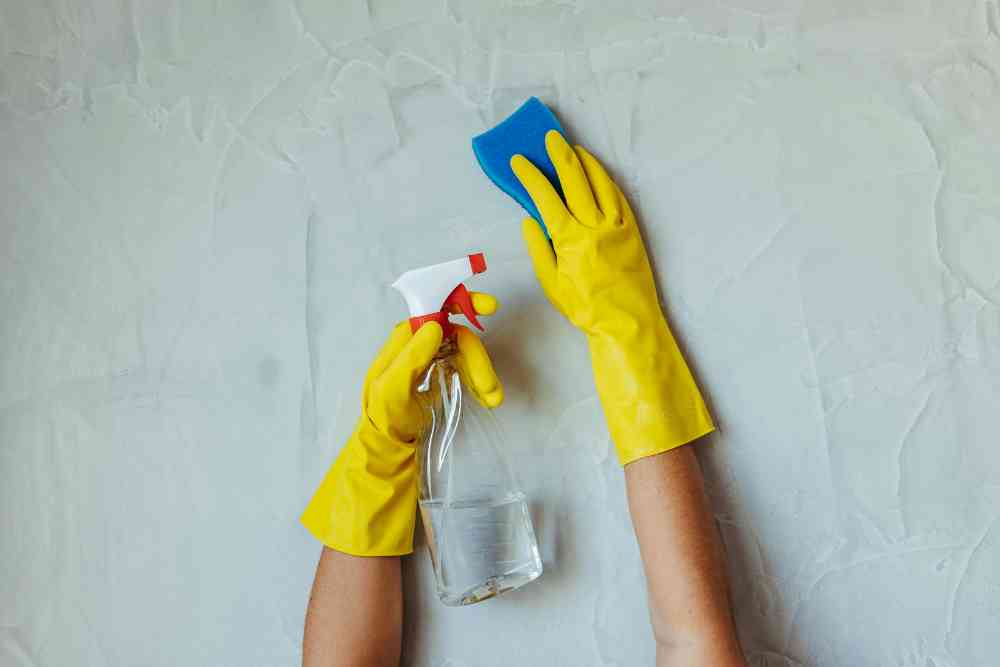
Preparing for Clean Up
Even with careful handling, drywall removal generates dust and small debris that will settle everywhere. Planning the cleanup before starting ensures a smoother end to the project. Have brooms, vacuums, and trash bins ready to collect scraps as you work. Protective gear like masks and gloves should remain on hand for the final sweep to prevent irritation. Strategic cleanup reduces post-project stress and helps restore the space quickly, allowing the next stage of renovation or decoration to proceed without delay.
Consider the type of disposal available in your area. Separating drywall from other waste makes recycling easier and may reduce costs. Labeling containers and keeping a dedicated path for debris ensures efficiency. Preparation for cleanup is as much about organization as it is about hygiene. Thoughtful pre-planning turns a daunting end-stage into a structured process, completing the removal with minimal mess and maximum satisfaction.
Considering Environmental Impact
Drywall disposal isn’t just a matter of convenience; it also carries environmental responsibility. Gypsum can be recycled into new materials, reducing landfill load. Separating drywall from metals, plastics, and other debris ensures proper processing. Even when recycling isn’t an option, thoughtful disposal prevents contamination and keeps neighborhoods clean. Awareness of environmental impact encourages more mindful removal practices, balancing efficiency with sustainability.
Planning ahead to minimize waste means thinking through collection, transport, and processing. Consider donating or repurposing materials if feasible. Being proactive about environmental responsibility reduces unnecessary harm and aligns the project with broader sustainability goals. Making environmentally conscious choices turns a standard removal into a positive contribution, leaving a cleaner space and a lighter ecological footprint behind.
Conclusion
Drywall removal is a task that combines preparation, caution, and thoughtful execution. Understanding the scope of work, protecting surroundings, managing debris, and anticipating hidden hazards ensures the project is safer and more efficient. Choosing proper tools and planning sequences contributes to smoother progress, while realistic time estimates and cleanup preparation prevent frustration. Every step requires a balance of care, efficiency, and foresight, resulting in a more manageable and controlled project overall. Safety and organization are key components, transforming a challenging endeavor into a practical and productive experience.
For residents in Santa Rosa seeking professional assistance with junk removal and debris management, North Bay Junk Removal offers reliable, efficient, and comprehensive services. Their team specializes in hauling away construction debris, including drywall, ensuring that your space is cleared quickly and responsibly. By contacting North Bay Junk Removal at 707-478-6817, homeowners can reclaim their space with confidence, knowing experienced professionals are handling the cleanup. From planning to disposal, their expertise makes the entire process seamless and stress-free, reflecting the highest standards in junk removal services throughout the region.
