The Best Techniques for Kitchen Demolition
September 2, 2025
When to Call for Professional Flooring Removal Services
September 2, 2025How to Prepare for Bathroom Demolition
Planning Your Bathroom Demolition Project
Starting a bathroom demolition begins long before the first swing of a hammer. Taking the time to plan can prevent unexpected complications and save stress later. Begin by mapping out what you want to remove, including fixtures, cabinets, tiles, and plumbing elements. Visualizing the sequence of removal ensures that work flows smoothly and helps identify potential safety hazards. Preparing a workspace free from clutter and ensuring easy access to tools can also reduce accidents. Dust control is vital, so covering nearby rooms with plastic sheeting or drop cloths is highly recommended. Protecting floors and walls from debris will keep cleanup manageable.
Organizing your materials in advance streamlines the process. Keep essential tools like a crowbar, sledgehammer, utility knife, and screwdrivers close by. Consider which items can be removed intact for donation or resale and separate them from items destined for disposal. Safe handling of sharp or heavy objects is crucial to prevent injuries. Finally, ensuring that all water, electricity, and gas sources are properly turned off reduces risks significantly. Thoughtful planning not only safeguards your wellbeing but also makes the demolition more efficient and less chaotic.
Clearing the Bathroom Space
Before demolition starts, remove personal items, linens, and toiletries from the bathroom. Emptying cabinets, drawers, and shelves prevents them from becoming obstacles or creating extra debris. Removing loose items from the floor and walls makes the space safer to navigate. Small furniture or removable partitions should be relocated to avoid damage. Planning where debris will be placed during the process is essential; consider using containers or tarps to collect rubble as you work.
Clearing the bathroom space also means protecting adjacent rooms from dust and debris. Seal doors and vents with painter’s tape and plastic sheeting. Adequate ventilation, like opening windows or using fans, helps minimize dust inhalation. Ensuring proper lighting allows you to see hazards clearly and reduces accidents. A well-cleared and prepared space lays the foundation for a smoother demolition process, making cleanup faster and safer.

Gathering Proper Tools and Equipment
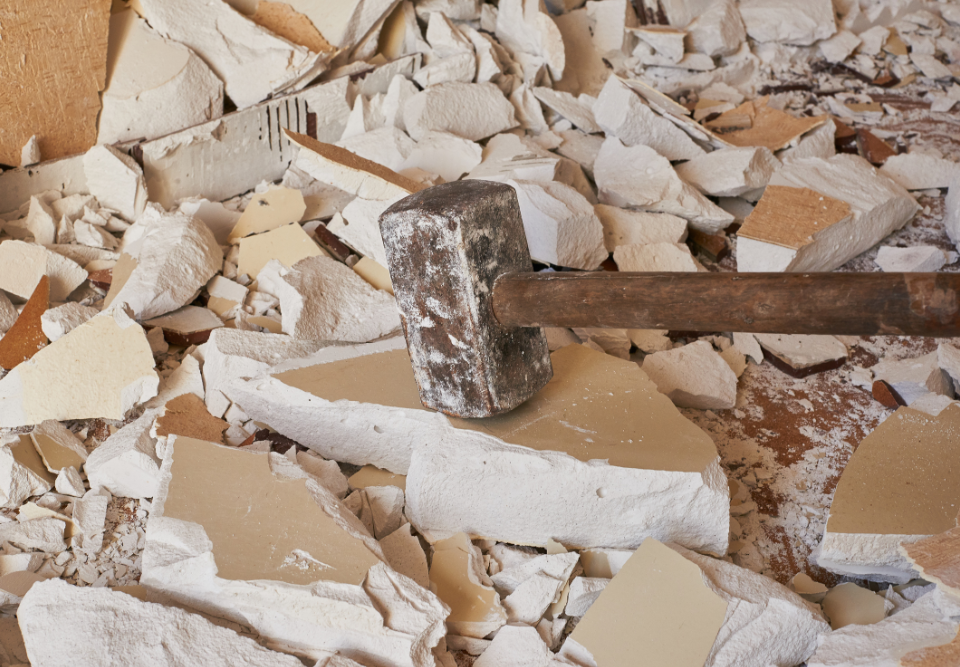
Successful bathroom demolition requires the right tools and equipment. Common essentials include crowbars, hammers, pry bars, utility knives, and protective gear like gloves, goggles, and dust masks. Power tools such as drills or reciprocating saws can make removing fixtures, cabinetry, and tiles much easier. Ensuring tools are in good working condition prevents delays and improves safety. Organizing them within reach allows you to work efficiently without searching for items mid-project.
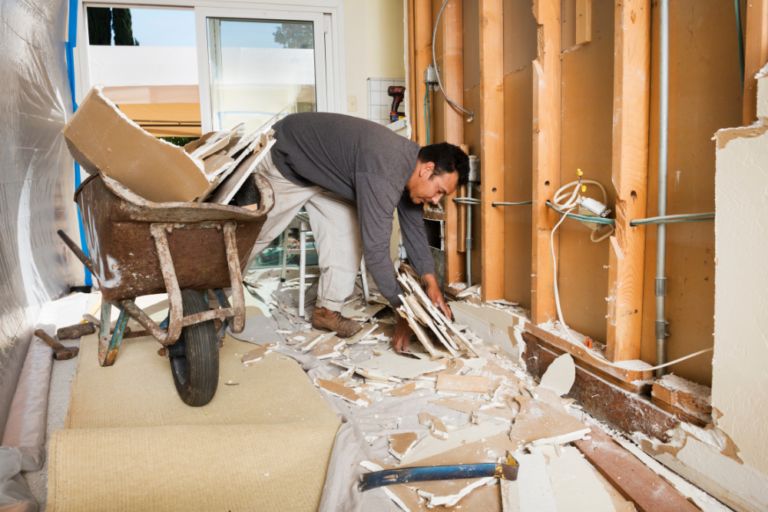
Equally important is having containers or bins for debris collection. Heavy-duty trash bags or buckets can handle small rubble, while larger items may need a dolly or wheelbarrow. Preparing for the disposal of old tiles, drywall, or plumbing fixtures avoids last-minute scrambling. Safety equipment, including sturdy footwear and long sleeves, is crucial to prevent injuries from sharp objects or falling debris. Being equipped properly ensures the demolition progresses smoothly and reduces physical strain.
Shutting Off Utilities Safely
One of the most critical steps before demolition is ensuring all utilities are properly shut off. Turn off water supply to prevent leaks and potential flooding during removal of sinks, toilets, and tubs. Electrical circuits powering bathroom outlets, lights, and ventilation fans should be deactivated at the breaker. If your project involves gas appliances, safely shut off the gas line to prevent hazards. Confirming that all utilities are inactive protects both you and your home from accidents.
Double-check each fixture before starting work. Open faucets to drain remaining water and test outlets to verify the power is off. Being meticulous in shutting down utilities prevents emergencies that could halt progress or cause costly damage. For larger projects, consider consulting a professional to ensure proper disconnection. Handling utilities carefully allows the demolition to proceed smoothly, maintaining safety as a top priority.
Protecting Your Home from Dust and Debris
Bathroom demolition can generate significant dust and debris, potentially impacting nearby rooms. Using plastic sheeting or tarps to cover floors, cabinets, and furniture outside the bathroom reduces cleanup time and protects surfaces. Installing temporary barriers around doors and vents prevents dust from spreading. Keeping a vacuum or dust collector nearby can help manage airborne particles and maintain visibility while working.
Regularly cleaning as you demolish limits accumulation of debris and reduces hazards. Sweeping or vacuuming small rubble ensures safe footing and prevents slips or trips. Protecting your home from dust also safeguards HVAC systems and prevents fine particles from settling in unwanted areas. Taking these precautions preserves the rest of your living space while making the demolition process safer and more efficient.
Removing Fixtures and Cabinets
Starting with bathroom fixtures and cabinets creates space and allows safer access to walls and flooring. Carefully unscrewing or prying cabinets and vanities helps prevent damage to surrounding surfaces. Fixtures like sinks, toilets, and tubs should be disconnected and lifted safely, ideally with assistance for heavier items. Removing these first reduces obstacles during the main demolition and allows better control over debris management.
Consider separating items for disposal from those that may be repurposed or donated. This organization reduces confusion and makes junk removal easier. Protecting surrounding tiles and walls while removing fixtures ensures the demolition does not cause unnecessary damage. Taking time with this step minimizes risk of injury and prepares the space for efficient continuation of demolition.
Demolishing Walls and Flooring
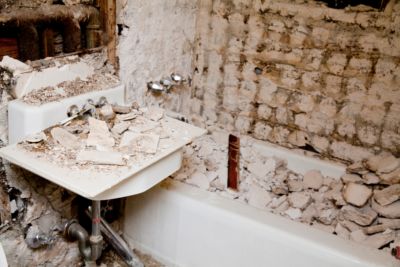
With fixtures removed, focus shifts to walls and flooring. Use a combination of pry bars, hammers, and utility knives to carefully remove drywall, tiles, or plaster. Start from one corner and work methodically to avoid unnecessary destruction. Flooring, whether tile or laminate, should be pried up in manageable sections. Keeping debris contained in bins or on tarps simplifies cleanup and prevents hazards.
Working slowly and deliberately reduces risk of injury from sharp objects or uneven surfaces. Maintain consistent lighting to identify potential weak spots in walls or floors. Clearing debris as you go allows safe movement and prevents accidents. Proper techniques and organized workflow during this stage ensure that the bathroom is fully cleared without damaging structural elements that will remain.
Handling Plumbing and Electrical Components
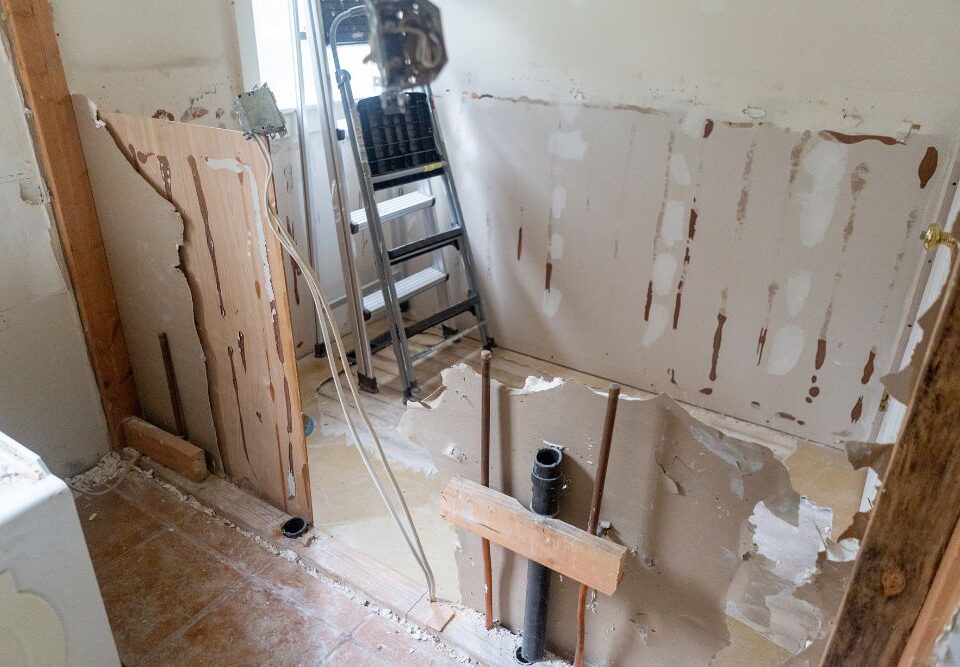
Removing plumbing and electrical elements safely is crucial for a smooth bathroom demolition. Pipes, wires, and fixtures must be disconnected properly to prevent leaks, electrical hazards, or damage. Use insulated tools when working with wiring and consider marking disconnected lines for future installation. Small sections of pipe or conduit can be removed in stages to maintain control and avoid accidents.
For plumbing, ensure drains and supply lines are capped or sealed once removed. Electrical wiring should be tagged and stored safely. Taking care with these components prevents complications during remodeling or reconstruction. Attention to detail and adherence to safety guidelines ensures that utility elements are removed without incident, facilitating a safe demolition environment.
Managing Debris and Waste
Efficient debris management keeps the project organized and reduces stress. Place removed materials into designated bins or piles for easier disposal. Separate recyclable items from general waste whenever possible to reduce landfill contribution. Heavy or bulky items may require additional help or equipment to transport safely.
Regularly clearing debris prevents hazards such as tripping and ensures continuous workflow. Planning for junk removal in advance makes the final cleanup faster and less stressful. Keeping the workspace tidy throughout the demolition allows you to focus on tasks at hand rather than dealing with clutter and disorganization.
Cleaning Up After Demolition
Once the bathroom is cleared, a thorough cleaning ensures the space is ready for remodeling. Sweep or vacuum dust and debris, wipe surfaces, and check for any remaining nails or screws. Removing lingering dust and particles protects future finishes and creates a safer work environment for contractors or DIY remodelers. Small details like scrubbing residual adhesive from tiles can enhance the overall readiness of the space.
Final cleanup also includes disposing of all demolition waste appropriately. Having planned for junk removal ahead of time simplifies this step. Returning tools to their proper storage prevents accidents and maintains order. A clean, prepared space reflects the care taken during demolition and sets the stage for a smooth renovation process.
Conclusion
Proper preparation and thoughtful execution of a bathroom demolition project are essential to ensure safety and efficiency. Planning each step, clearing the space, gathering the right tools, and shutting off utilities minimizes hazards and helps the process flow smoothly. Protecting the home from dust, removing fixtures carefully, managing debris, and conducting thorough cleaning all contribute to a successful project. Considering waste disposal strategies beforehand can make post-demolition cleanup much simpler and stress-free.
For professional assistance with junk removal, North Bay Junk Removal in Santa Rosa, CA provides reliable services to handle all types of debris. Their team is equipped to remove old fixtures, cabinets, tiles, and other materials quickly and safely. Whether tackling a small bathroom or a larger renovation, you can contact them at 707-478-6817 to schedule efficient junk removal and ensure your space is ready for remodeling with minimal hassle.


