

How Drywall Removal Affects Home Renovations
September 10, 2025
Why Deck Removal Is Vital for Long-Term Home Maintenance
September 10, 2025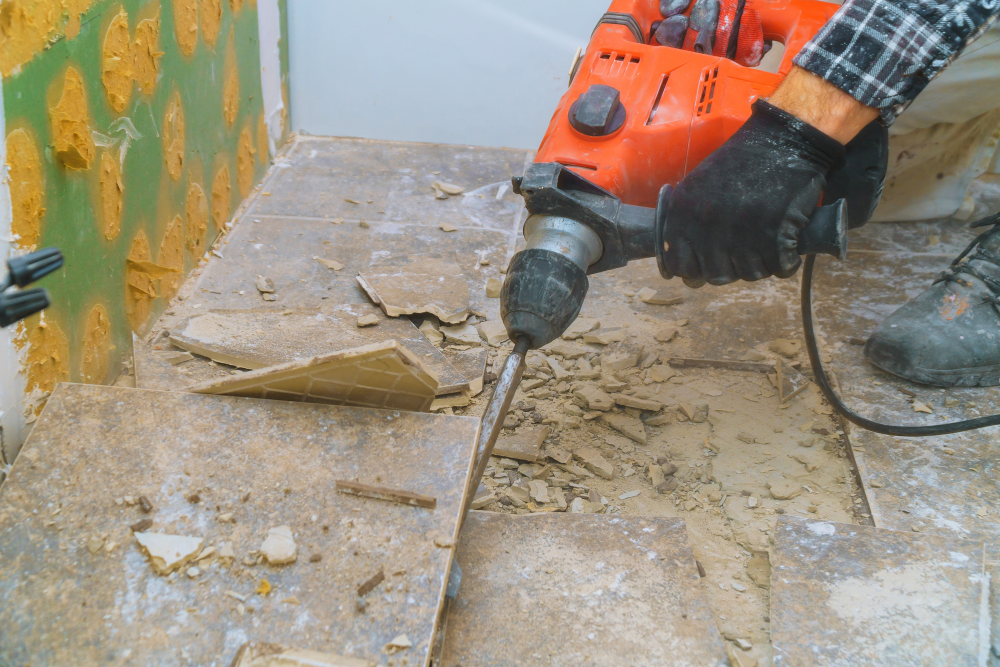
Old flooring can change the entire look and feel of a home. What once added charm may now appear worn, outdated, or damaged, leaving the space in need of renewal. Whether you’re preparing for a renovation or simply seeking a fresh design, flooring removal is the first step toward transformation. However, it’s not as straightforward as tearing up old material and replacing it. Each type of flooring comes with its own challenges, from adhesives to subfloor preparation, making a clear process essential. Understanding these steps saves time, prevents costly mistakes, and ensures a smooth installation for whatever new style you choose.
Preparing the area before removal
Preparation is key to making flooring removal efficient. Before tearing into the floor, the room must be cleared of furniture, rugs, and any obstacles that could hinder the process. Even small items like lamps or side tables can create unnecessary hazards if left in the workspace. This step ensures the floor surface is fully exposed, allowing for a more focused approach.
It’s also important to take precautions to protect adjoining areas. Covering vents prevents dust from spreading, and taping off doorways limits debris migration. Removing baseboards or trim pieces in advance can make it easier to access edges where flooring often clings tightly. By preparing the area thoroughly, you create an environment that supports efficiency and safety. What seems like a small detail at the beginning becomes a major factor in reducing frustration later, allowing the removal to proceed without interruptions.
Understanding different flooring types
Not all floors are created equal, and the removal process differs significantly depending on the material. Hardwood floors, for example, may be nailed or glued down, requiring special tools and patience to pry them up. Carpet is often easier to remove, but tack strips and stubborn padding can complicate the process. Tile removal is perhaps the most labor-intensive, as the adhesive and grout often cling aggressively to the subfloor.
Knowing what type of flooring you’re working with helps you choose the right techniques and tools. For instance, a heat gun may be useful for softening adhesives under vinyl, while a heavy-duty scraper is essential for removing ceramic tiles. By understanding the characteristics of the material, you can anticipate challenges before they arise. This foresight reduces wasted effort and makes the job more efficient. Each flooring type presents unique demands, and recognizing them early makes removal far more manageable.
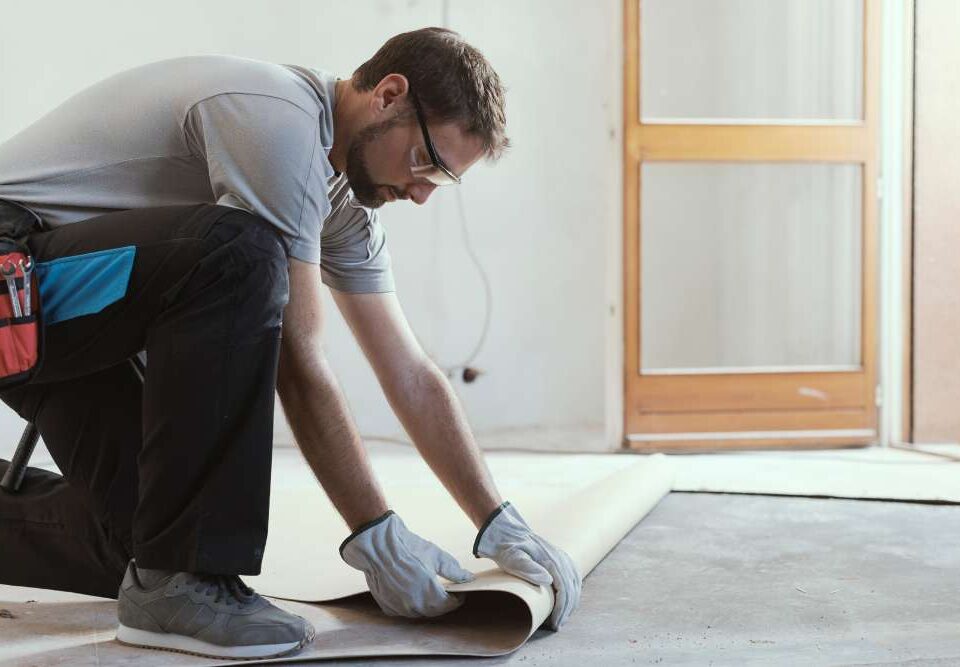
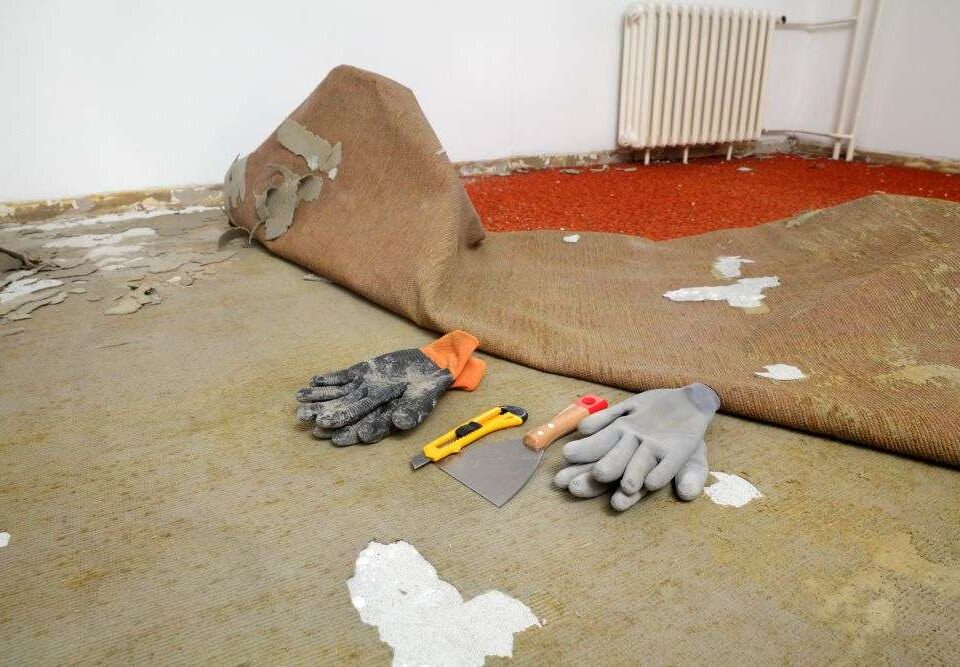
Gathering the proper tools and safety gear
The success of flooring removal often depends on having the right tools at your disposal. Common items include pry bars, hammers, utility knives, scrapers, and sometimes power tools like jackhammers or floor strippers for tougher materials. Without the appropriate equipment, the process takes longer and can lead to unnecessary frustration or even damage to the subfloor. Preparing these tools ahead of time ensures that the work proceeds smoothly.
Equally important is prioritizing safety gear. Flooring removal can expose sharp edges, flying debris, or dust that lingers in the air. Gloves protect your hands from splinters or cuts, while safety glasses shield your eyes. For materials like tile or old adhesive, a dust mask or respirator is vital to protect your lungs. Having the right gear makes a noticeable difference, allowing you to work confidently while avoiding preventable injuries. A safe, well-equipped workspace is essential for efficiency.
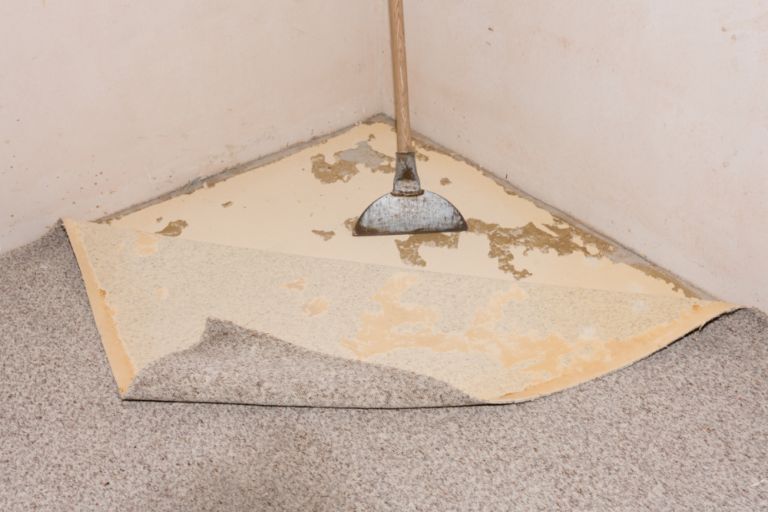
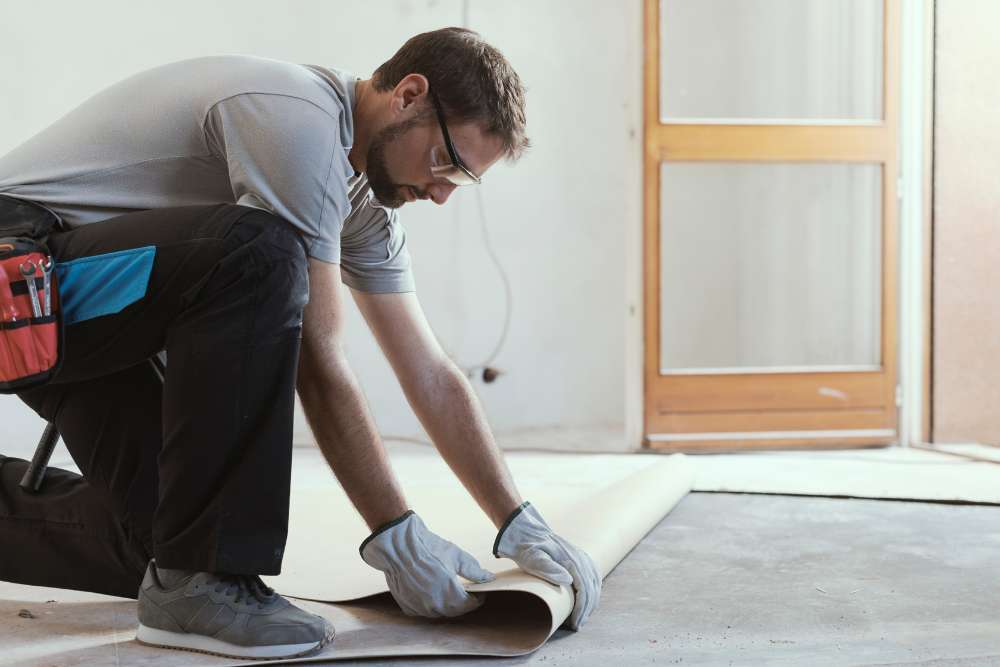
Removing carpet and padding efficiently
Carpet removal begins by cutting it into manageable strips with a utility knife. Rolling each section makes disposal easier, and it prevents overwhelming piles from cluttering the room. Once the carpet is removed, the padding beneath often reveals the true challenge. Padding is usually stapled or glued, requiring careful effort to peel it up without damaging the subfloor.
Tack strips around the perimeter add another layer of difficulty. These sharp-edged pieces hold the carpet firmly in place and must be pried up with care. Gloves are essential during this process, as tack strips can easily cause injuries. Once all components are removed, nails and staples should be extracted to leave the subfloor clean and ready for refinishing or installation. While carpet and padding are generally less complex than tile or wood, efficient removal still demands patience and thoroughness to ensure nothing is left behind.
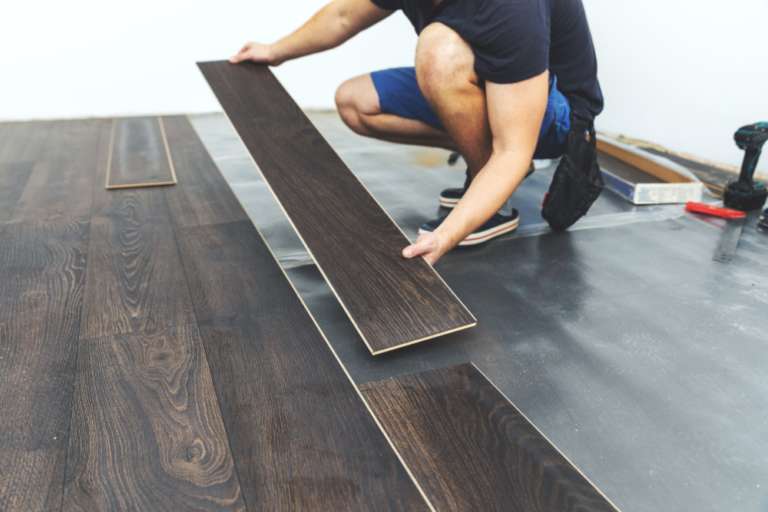
Tackling hardwood floor removal
Hardwood floors offer beauty and durability, but removing them can be challenging. If the boards are nailed down, the process requires prying up each plank carefully to avoid splintering and damaging the subfloor. When hardwood is glued down, the adhesive can be stubborn, often requiring specialized scrapers or even heat to loosen the bond. This type of removal is labor-intensive but necessary for a fresh start.
One effective strategy is to begin at the edges or any loose boards and work toward the center. By creating leverage points, it becomes easier to pry the wood away systematically. For larger spaces, dividing the floor into sections helps maintain order during removal. Once the boards are removed, leftover adhesive or nails must be cleared to ensure the surface is even.
Dealing with tile and grout challenges
Tile removal is one of the most demanding flooring projects. Tiles are often set with mortar or adhesive that bonds tightly to the subfloor, requiring significant force to break them free. Tools like a hammer and chisel or even a power chipping tool are often necessary. The work generates a large amount of dust and debris, making protective gear essential during the process.
Once the tiles are pried up, the grout and mortar beneath present another challenge. Scraping or grinding these materials off the surface ensures the subfloor is smooth enough for new flooring. This step can be tedious, but skipping it risks uneven installation later. Collecting debris as you go keeps the workspace manageable and prevents tripping hazards.
Addressing subfloor preparation
After flooring has been removed, attention shifts to the subfloor. This step is critical because the quality of the subfloor directly impacts the success of any new installation. Holes, cracks, or uneven areas must be repaired to create a stable foundation. For wood subfloors, this may involve filling gaps, replacing damaged boards, or sanding down rough spots. Concrete subfloors may require patching compounds or grinding to level the surface.
Cleaning is equally important. Dust, adhesive residue, and stray nails can interfere with new flooring. Thoroughly sweeping and vacuuming ensures the subfloor is free of obstacles. Preparing this surface properly prevents issues like squeaks, uneven planks, or tiles that fail to bond correctly. Although it’s easy to overlook, subfloor preparation is a vital step in the process.
Managing waste and debris removal
Flooring removal creates a surprising amount of debris. Old carpet rolls, broken tiles, wood planks, and adhesive residue can quickly overwhelm your space if not managed properly. Having a waste disposal plan in place before starting ensures the project doesn’t stall. Renting a dumpster or arranging for junk removal services makes it easier to keep the area clear and safe.
Proper disposal also means considering recycling opportunities. Many flooring materials, such as wood and metal, can be repurposed or recycled. Separating these items reduces landfill waste and supports sustainable practices. Bagging smaller debris keeps dust and sharp fragments contained, while larger pieces can be stacked neatly for pickup. An organized disposal approach not only keeps the project efficient but also makes the final cleanup less stressful.
Considering professional assistance
While some homeowners enjoy the challenge of DIY flooring removal, others may find it overwhelming. Heavy materials, persistent adhesives, and the sheer scale of debris can make the process difficult to manage alone. Professional services offer an efficient solution, saving both time and effort. These experts bring specialized equipment and experience that ensures safe, thorough removal.
Hiring professionals also provides peace of mind that disposal will be handled responsibly. From recycling to landfill regulations, experienced crews know how to manage waste properly. What might take a homeowner several days can often be completed in just a few hours with the help of a trained team. For those with tight schedules or limited physical capacity, professional assistance transforms flooring removal from a daunting project into a seamless step toward renovation.
Restoring and preparing for the new floor
The final step in flooring removal is restoring the space so it’s ready for a fresh installation. Once all old materials, debris, and adhesives are cleared, the subfloor should be inspected one more time to confirm it’s smooth, level, and structurally sound. Any remaining imperfections can compromise the longevity of new flooring, so this final check is essential.
Taking a moment to clean the space thoroughly also helps create an inviting environment for installers or for your own DIY installation. Vacuuming, wiping surfaces, and ensuring proper ventilation all contribute to better results. Once the area is prepared, you’re free to choose and install the flooring style that matches your vision. By following each step carefully, the entire process transitions smoothly from demolition to renovation.
Conclusion
Flooring removal is often the hidden challenge behind any successful renovation. Each material presents unique obstacles, but with the right planning, tools, and approach, the process becomes manageable. From preparation and safety to debris disposal and subfloor restoration, every step is essential in paving the way for a new design. Homeowners who want to save time and effort can also rely on expert help for a faster, more efficient experience.
North Bay Junk Removal, located in Santa Rosa, CA, specializes in junk removal services that include flooring demolition and debris hauling. Their team ensures materials are removed safely and disposed of responsibly, saving homeowners both time and stress. To schedule professional assistance, call 707-478-6817 today. With North Bay Junk Removal, the path to your next flooring project becomes smoother, easier, and far less overwhelming, giving you a clean slate for your renovation goals.