Tips for Efficient Kitchen Demolition Cleanup
September 9, 2025
Deck Removal Services Making Your Yard More Functional
September 10, 2025Drywall Removal How to Prepare Your Home
Home renovations often begin with removing old materials, and drywall removal is one of those steps that seems simple but actually requires careful planning. It’s more than just tearing into walls; it involves preparing your home, organizing the space, and knowing how to handle the mess that follows. Proper preparation ensures that the project runs smoothly, reduces the chance of unnecessary damage, and keeps cleanup manageable. By thinking ahead, homeowners can save time, protect their belongings, and maintain a safer environment during demolition. With the right strategy, drywall removal becomes less overwhelming and far more efficient.
Clearing the room before drywall removal
The first step in preparing for drywall removal is creating a clear and open space. Furniture, decorations, and personal items should all be relocated to prevent damage and allow workers—or yourself—room to move freely. Even small items left behind can collect dust and debris, so it’s best to empty the area as completely as possible. This ensures that nothing important gets ruined in the process.
Once the room is cleared, it’s easier to visualize the work ahead. Open space also allows you to set up tools and protective materials without crowding. Having a clutter-free environment reduces frustration and helps the demolition move forward at a steady pace. Think of this step as resetting the room so it’s ready for transformation, where the only focus is the drywall itself and the changes you’re about to create.
Protecting surfaces and flooring
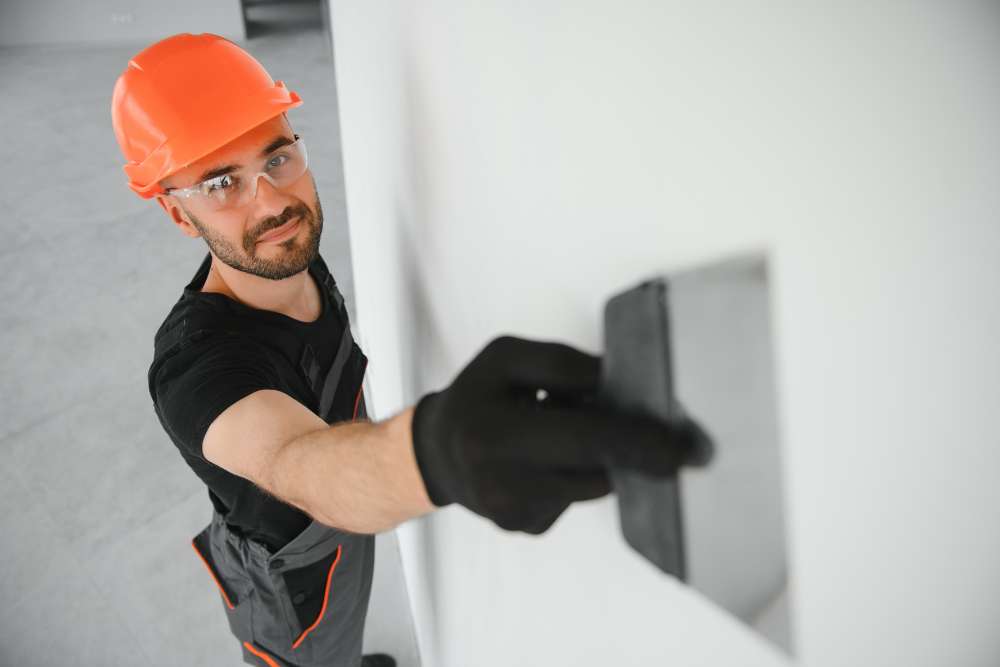
Drywall removal is messy, and without proper protection, your floors and fixtures can take the brunt of the damage. Plastic sheeting, tarps, or heavy drop cloths should be laid down before any cutting or pulling begins. This barrier prevents dust and sharp fragments from scratching hardwood, staining carpets, or damaging tile. Covering light fixtures and vents also keeps them from filling with debris.
Beyond shielding from dust, surface protection helps streamline cleanup. Instead of sweeping endlessly or dealing with particles embedded in carpet fibers, most of the mess can be gathered by folding up the protective layers. Investing time in this step reduces stress later, making it easier to restore your home once demolition ends. Taking a preventative approach means you’re not just tearing down walls—you’re preserving the rest of your space in the process.
Gathering the proper tools
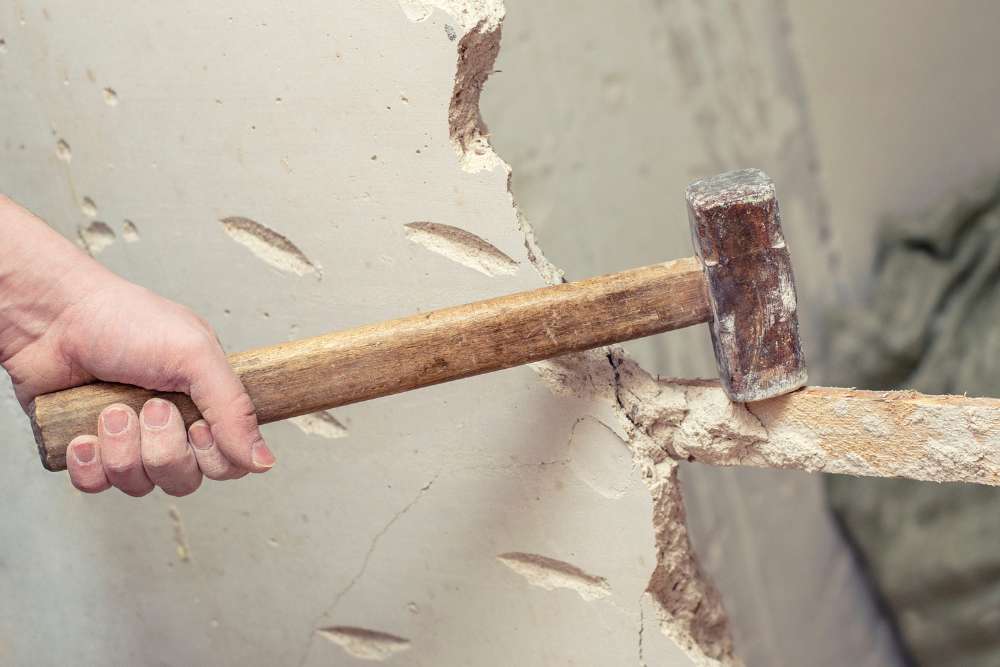
A successful drywall removal project requires the right set of tools. Common essentials include utility knives, pry bars, and hammers for loosening and cutting sections. For larger projects, power tools like reciprocating saws or drills may be needed to tackle tougher areas or to handle sections attached with stubborn fasteners. Each tool plays a role, and choosing the correct ones ensures efficiency.
Equally important is safety gear. Dust masks, gloves, and safety goggles are necessary for protecting yourself during the process. Drywall dust can irritate the lungs, while sharp edges from nails and broken boards can cause injury. Having tools and gear ready before starting avoids interruptions and helps keep the project moving smoothly. Preparation on the front end translates into faster, safer work once the removal begins, giving you confidence that the job is being handled properly.
Shutting off utilities before demolition
Behind drywall often lies electrical wiring, plumbing, or gas lines, and these hidden systems can turn demolition into a dangerous job if not handled carefully. Before removing any section, it’s critical to shut off power to the room at the breaker. This reduces the chance of accidental electrocution or damage to wiring. Similarly, identifying plumbing lines prevents water leaks that could ruin floors and walls.
This step may feel inconvenient, but it’s one of the most important safety measures you can take. By disabling utilities in advance, you create a controlled environment where the only focus is on the drywall itself. It also reduces the likelihood of costly repairs caused by accidental hits. A cautious approach ensures peace of mind, letting you proceed with demolition knowing that hidden hazards have been managed effectively.
Minimizing dust and debris spread
One of the biggest challenges of drywall removal is the fine dust it produces, which can travel throughout the home if left unchecked. To minimize spread, seal off doorways and vents with plastic sheeting and painter’s tape. This containment keeps dust limited to the work area and prevents it from circulating into other living spaces.
Additionally, consider using a shop vacuum with a HEPA filter during the process. This helps capture airborne particles as you work, reducing cleanup later. Dust management not only protects your home but also improves air quality for everyone inside. By actively containing debris, you ensure the mess remains manageable and doesn’t create long-term issues. Small steps taken early make the final cleanup much easier and prevent frustration after the demolition is finished.
Planning for debris disposal
Drywall removal generates large amounts of bulky debris, and planning ahead for disposal is crucial. Renting a dumpster or scheduling a pickup service prevents waste from piling up in your yard or driveway. Smaller projects might only require heavy-duty trash bags, but large renovations often need more comprehensive solutions.
A disposal plan ensures demolition doesn’t stall midway through because of clutter. Organizing where the waste will go also helps maintain safety around the work area, since loose debris can create tripping hazards. Some drywall materials may even be recyclable, depending on local regulations. By handling disposal thoughtfully, the project remains efficient and eco-friendly. This preparation step ties the entire process together, transforming what could feel overwhelming into an organized system from start to finish.
Working in manageable sections
Attempting to tear down an entire wall in one go can lead to chaos. A smarter approach is to remove drywall in smaller, controlled sections. Cutting manageable panels and taking them down piece by piece not only makes handling easier but also prevents unnecessary damage to the framing or studs underneath.
This method creates order during what might otherwise feel like disorderly work. By breaking the project into smaller parts, you keep progress steady while maintaining a clear view of what lies behind the wall. If wiring or pipes appear, working in sections makes it easier to stop and adjust. Controlled removal ensures safety, efficiency, and less stress, allowing the project to stay on track without overwhelming you. It’s a patient, practical strategy that keeps the big picture in mind while handling the details.
Staying mindful of structural elements
Not all walls are created equal, and some drywall may be attached to load-bearing structures. Removing drywall without awareness of what’s behind it can compromise safety or interfere with the home’s integrity. Understanding which walls are purely cosmetic and which contribute to the building’s structure ensures the work is handled correctly.
Homeowners unfamiliar with identifying these elements may benefit from professional guidance before proceeding. Taking time to learn about framing, studs, and supports makes the demolition process more secure. By staying mindful of structural considerations, you prevent unintentional mistakes that could lead to costly repairs. This awareness underscores the importance of preparation, reminding you that drywall removal isn’t just about aesthetics—it’s also about respecting the home’s foundation and ensuring improvements are built on a safe, stable base.
Considering professional assistance
While drywall removal can be a do-it-yourself project, it’s not always the simplest option. Professionals bring efficiency, experience, and equipment that make the process faster and safer. They know how to navigate hidden obstacles, handle debris, and minimize damage to surrounding areas. Hiring experts can save both time and stress, particularly for large-scale renovations.
For homeowners unfamiliar with demolition or pressed for time, professional help ensures peace of mind. Instead of wrestling with dust, disposal, and potential hazards, you can rely on trained crews to manage the project from start to finish. Choosing professional assistance doesn’t mean you lose control—it means you gain support that makes your home improvement smoother and more successful. For many, it’s the most practical way to approach drywall removal, especially when paired with broader renovation plans.
Restoring the space after drywall removal
Once the drywall is down and debris cleared, attention shifts to restoring the room. This includes inspecting studs, wiring, and insulation to ensure they’re in good condition before moving forward with new installations. Any imperfections can be corrected at this stage, setting a strong foundation for the next phase of renovation.
Restoration also involves thorough cleaning to eliminate lingering dust. Wiping down surfaces, vacuuming floors, and ventilating the area ensures the space is ready for its transformation. This stage is where preparation pays off—the more carefully you managed protection and debris, the easier it is to restore order. Once complete, the room no longer feels like a construction zone but a clean slate waiting for the improvements that follow.
Conclusion
Preparing for drywall removal is not just about taking down walls—it’s about creating a plan that makes the process efficient, safe, and manageable. By clearing rooms, protecting surfaces, shutting off utilities, and organizing disposal, homeowners reduce risks and streamline the work. Each step, from dust control to structural awareness, ensures the project unfolds smoothly without unexpected setbacks. While do-it-yourself methods work for some, professional help often makes the experience faster and more effective. For those ready to take the next step in demolition or cleanup, North Bay Junk Removal provides trusted support. Based in Santa Rosa, CA, their team offers reliable junk removal services to make even the toughest projects easier. With careful planning and expert assistance, drywall removal becomes less stressful and far more rewarding. To schedule assistance, call 707-478-6817 and take the first step toward transforming your home today.

