Renovating your home can be an exciting endeavor, but when it comes to removing drywall, the process can quickly become overwhelming if not approached with care and preparation. Drywall removal isn’t just about tearing down walls; it’s about doing so safely, efficiently, and with minimal disruption to the rest of your home. Whether you’re tackling a single room or an entire floor, understanding the nuances of drywall removal can make all the difference in the success of your renovation project.
Prioritize Safety and Preparation
Before you even think about picking up a tool, it’s crucial to ensure the safety of everyone involved. Start by turning off all utilities—electricity, water, and gas—to prevent any accidents. Use a voltage tester to confirm that no live wires are present in the area. Once utilities are secured, move furniture out of the room and cover the floors with drop cloths to protect them from dust and debris. Additionally, sealing off adjoining rooms with plastic sheeting can help contain the mess and prevent dust from spreading throughout your home.
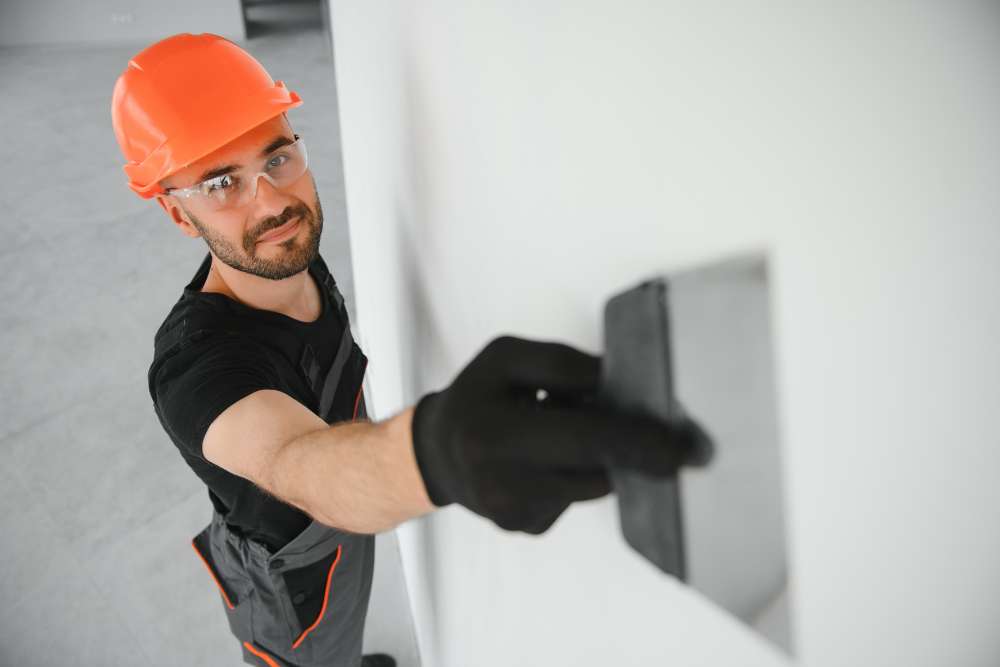
Equipping yourself with the right protective gear is equally important. Wear safety goggles to shield your eyes from flying debris, a dust mask to avoid inhaling harmful particles, and gloves to protect your hands from sharp edges and rough surfaces. By taking these precautions, you not only safeguard your health but also ensure a smoother and more efficient drywall removal process.
Understand the Structure of Your Walls
Not all drywall is installed the same way, and understanding how your walls are constructed can help you plan the removal process more effectively. In many homes, drywall is attached to wooden studs with nails or screws. Using a stud finder can help you locate these fasteners, allowing you to remove them before attempting to pull the drywall away. If your walls have been renovated previously, they might contain additional layers or materials, such as insulation or old wiring, which can complicate the removal process.
Before starting, inspect the area for any signs of damage or issues that might require special attention. For instance, if you notice water stains or mold, these could indicate underlying problems that need to be addressed before proceeding with the renovation. By taking the time to understand the structure and condition of your walls, you can anticipate potential challenges and plan accordingly, ensuring a safer and more efficient drywall removal process.
Gather the Right Tools
Having the appropriate tools on hand can significantly ease the drywall removal process. Essential tools include a utility knife for scoring the drywall, a pry bar for detaching it from the studs, and a hammer or screwdriver for removing nails or screws. A reciprocating saw can be useful for cutting through studs if necessary. Additionally, a stud finder can help locate fasteners, while a level can ensure your cuts are straight and even.
It’s also advisable to have a ladder or step stool available to reach higher areas safely. Depending on the size of the area being renovated, a dumpster or heavy-duty trash bags will be necessary for disposing of the removed drywall. Having these tools ready before you begin can streamline the process and reduce the risk of accidents or delays during the renovation.
Work in Manageable Sections
Attempting to remove an entire wall of drywall at once can be daunting and potentially hazardous. Instead, break the task into smaller, more manageable sections. Start by scoring the drywall with a utility knife to create clean lines, then use a pry bar to gently detach the drywall from the studs. Working in sections allows you to maintain better control over the removal process and reduces the risk of damaging surrounding areas.
Additionally, removing smaller sections at a time makes it easier to handle the debris and dispose of it properly. It also allows you to inspect each section for any hidden issues, such as mold, pests, or damaged studs, that might need attention before proceeding further. By taking a methodical approach and working in sections, you can ensure a more organized and efficient drywall removal process.
Manage Dust and Debris Effectively
Drywall removal is inherently messy, but with proper planning, you can minimize the mess and keep your workspace clean. Before starting, cover the floors with drop cloths and seal off adjacent rooms with plastic sheeting to contain dust. As you work, regularly remove debris from the area to prevent it from accumulating and creating tripping hazards.
Using a shop vacuum with a HEPA filter can help control dust during the removal process. Afterward, clean the area thoroughly to remove any remaining dust and particles. This not only keeps your home clean but also ensures a healthier environment, especially if anyone in the household has respiratory issues or allergies. By staying on top of dust and debris management, you can maintain a safer and more pleasant workspace throughout the renovation.
Be Aware of Hidden Hazards
During drywall removal, it’s essential to be vigilant for hidden hazards that could pose risks. Older homes, in particular, may have outdated wiring, plumbing, or insulation that can be easily damaged during the process. Before cutting or prying away drywall, use a stud finder to locate studs and any hidden wires or pipes.
If you encounter any unexpected obstacles, such as mold, pests, or structural damage, it’s crucial to address them promptly. Ignoring these issues can lead to more significant problems down the line and may compromise the safety and integrity of your home. By being proactive and aware of potential hazards, you can ensure a safer and more successful drywall removal process.
Plan for Disposal and Cleanup
Drywall removal generates a significant amount of waste, so it’s essential to plan for proper disposal and cleanup. Renting a dumpster or arranging for junk removal services can make the process more manageable and prevent debris from piling up in your yard or driveway.
Once the drywall is removed, clean the area thoroughly to remove any remaining dust and debris. This not only keeps your home clean but also prepares the space for the next phase of your renovation. Proper disposal and cleanup are crucial steps in the renovation process, ensuring that your project progresses smoothly and that your home remains safe and livable throughout.
Consider Environmental Impact
When removing drywall, it’s important to consider the environmental impact of your actions. Drywall is a recyclable material, and many recycling centers accept it. Instead of sending all the removed drywall to a landfill, look for local recycling options to reduce waste and promote sustainability.
Additionally, during the renovation process, consider using eco-friendly materials and practices. For example, choosing low-VOC paints and energy-efficient fixtures can contribute to a healthier indoor environment and reduce your home’s carbon footprint. By being mindful of the environmental impact of your renovation, you can make choices that benefit both your home and the planet.
Know When to Call a Professional
While DIY drywall removal can be a rewarding project, it’s not always the best option for everyone. If you’re dealing with extensive damage, hazardous materials like asbestos, or complex structural issues, it’s advisable to consult with a professional.
Professionals have the expertise and equipment to handle challenging situations safely and efficiently. They can also assist with proper disposal and cleanup, ensuring that your renovation progresses without unnecessary delays or complications. Knowing when to call a professional can save you time, money, and potential headaches in the long run.
Conclusion
Embarking on a drywall removal project during a renovation requires careful planning, the right tools, and a commitment to safety. By prioritizing preparation, understanding your home’s structure, and managing dust and debris effectively, you can navigate the challenges of drywall removal with confidence. Remember to work in manageable sections, stay vigilant for hidden hazards, and plan for proper disposal and cleanup to ensure a smooth and successful renovation process.
If you find the task of drywall removal overwhelming or simply prefer to leave it to the experts, consider reaching out to a professional junk removal service. In Santa Rosa, CA, North Bay Junk Removal is ready to assist with all your junk removal needs. Whether it’s drywall debris or other renovation waste, their team is equipped to handle the job efficiently and safely. Contact them today at 707-478-6817 to learn more about their services and how they can help make your renovation project a success.